Decorating your home with your family is probably one of the most exciting things to do during the holiday season. You don’t have to spend much on some expensive and fancy decors. You can make your own Christmas ornaments with very simple and inexpensive materials.
Here is a nice DIY project to make Christmas bell ornaments from recycled plastic bottles. What a creative idea because the plastic bottle is just the perfect shape for the bell. You can work with your kids on it. They will have fun creating these cute ornaments with their own hands. It also teaches the kids to be imaginative and models a simple way to reuse and recycle. You can hang these plastic bottle bells on the Christmas tree or on the door. They will be a wonderful addition to your holiday decorations. Happy crafting!
Here are the materials and tool you may need:
- Plastic bottles;
- Brushes;
- Gold acrylic metallic paint;
- Ribbon;
- Organza;
- Styrofoam ball;
- Scissors;
- Hot glue gun;
- Sand paper;
- Nylon thread;
- Ornaments: pine cone, dried flowers, dried leaves, decorative fruits, etc.
- Wire.
Instructions:
- Clean and rinse the plastic bottle thoroughly. Wait for it to dry completely.
- Cut the plastic bottle. We are going to use the upper part of the plastic bottle for the bell. You may use sand paper to smooth the edges.
- Apply two coats of acrylic paint on the bottle and the Styrofoam ball. Wait for the paint to dry completely.
- Cut a small hole near the top of the bottle. Tie the Styrofoam ball with nylon thread, pass the nylon thread through the small hole and tie a knot to secure it. In this way, the Styrofoam ball is suspended inside the bottle.
- Wrap the base of the bell with a piece of organza and secure with glue.
- You can glue any ornaments you like to the top of the bell, such as a red ribbon bow, dried flowers, pine cones, decorative fruits etc.
- Cut two pieces of wire and fasten to the top of the bell. You are ready to hang this beautiful Christmas bell. Enjoy!
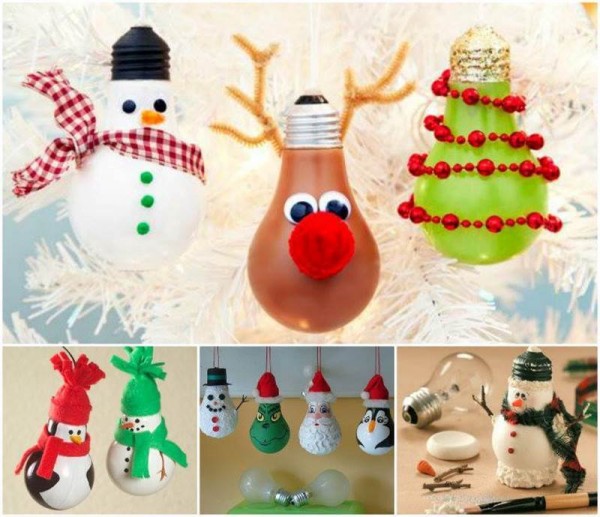
You may also like these light bulb Christmas ornaments.

